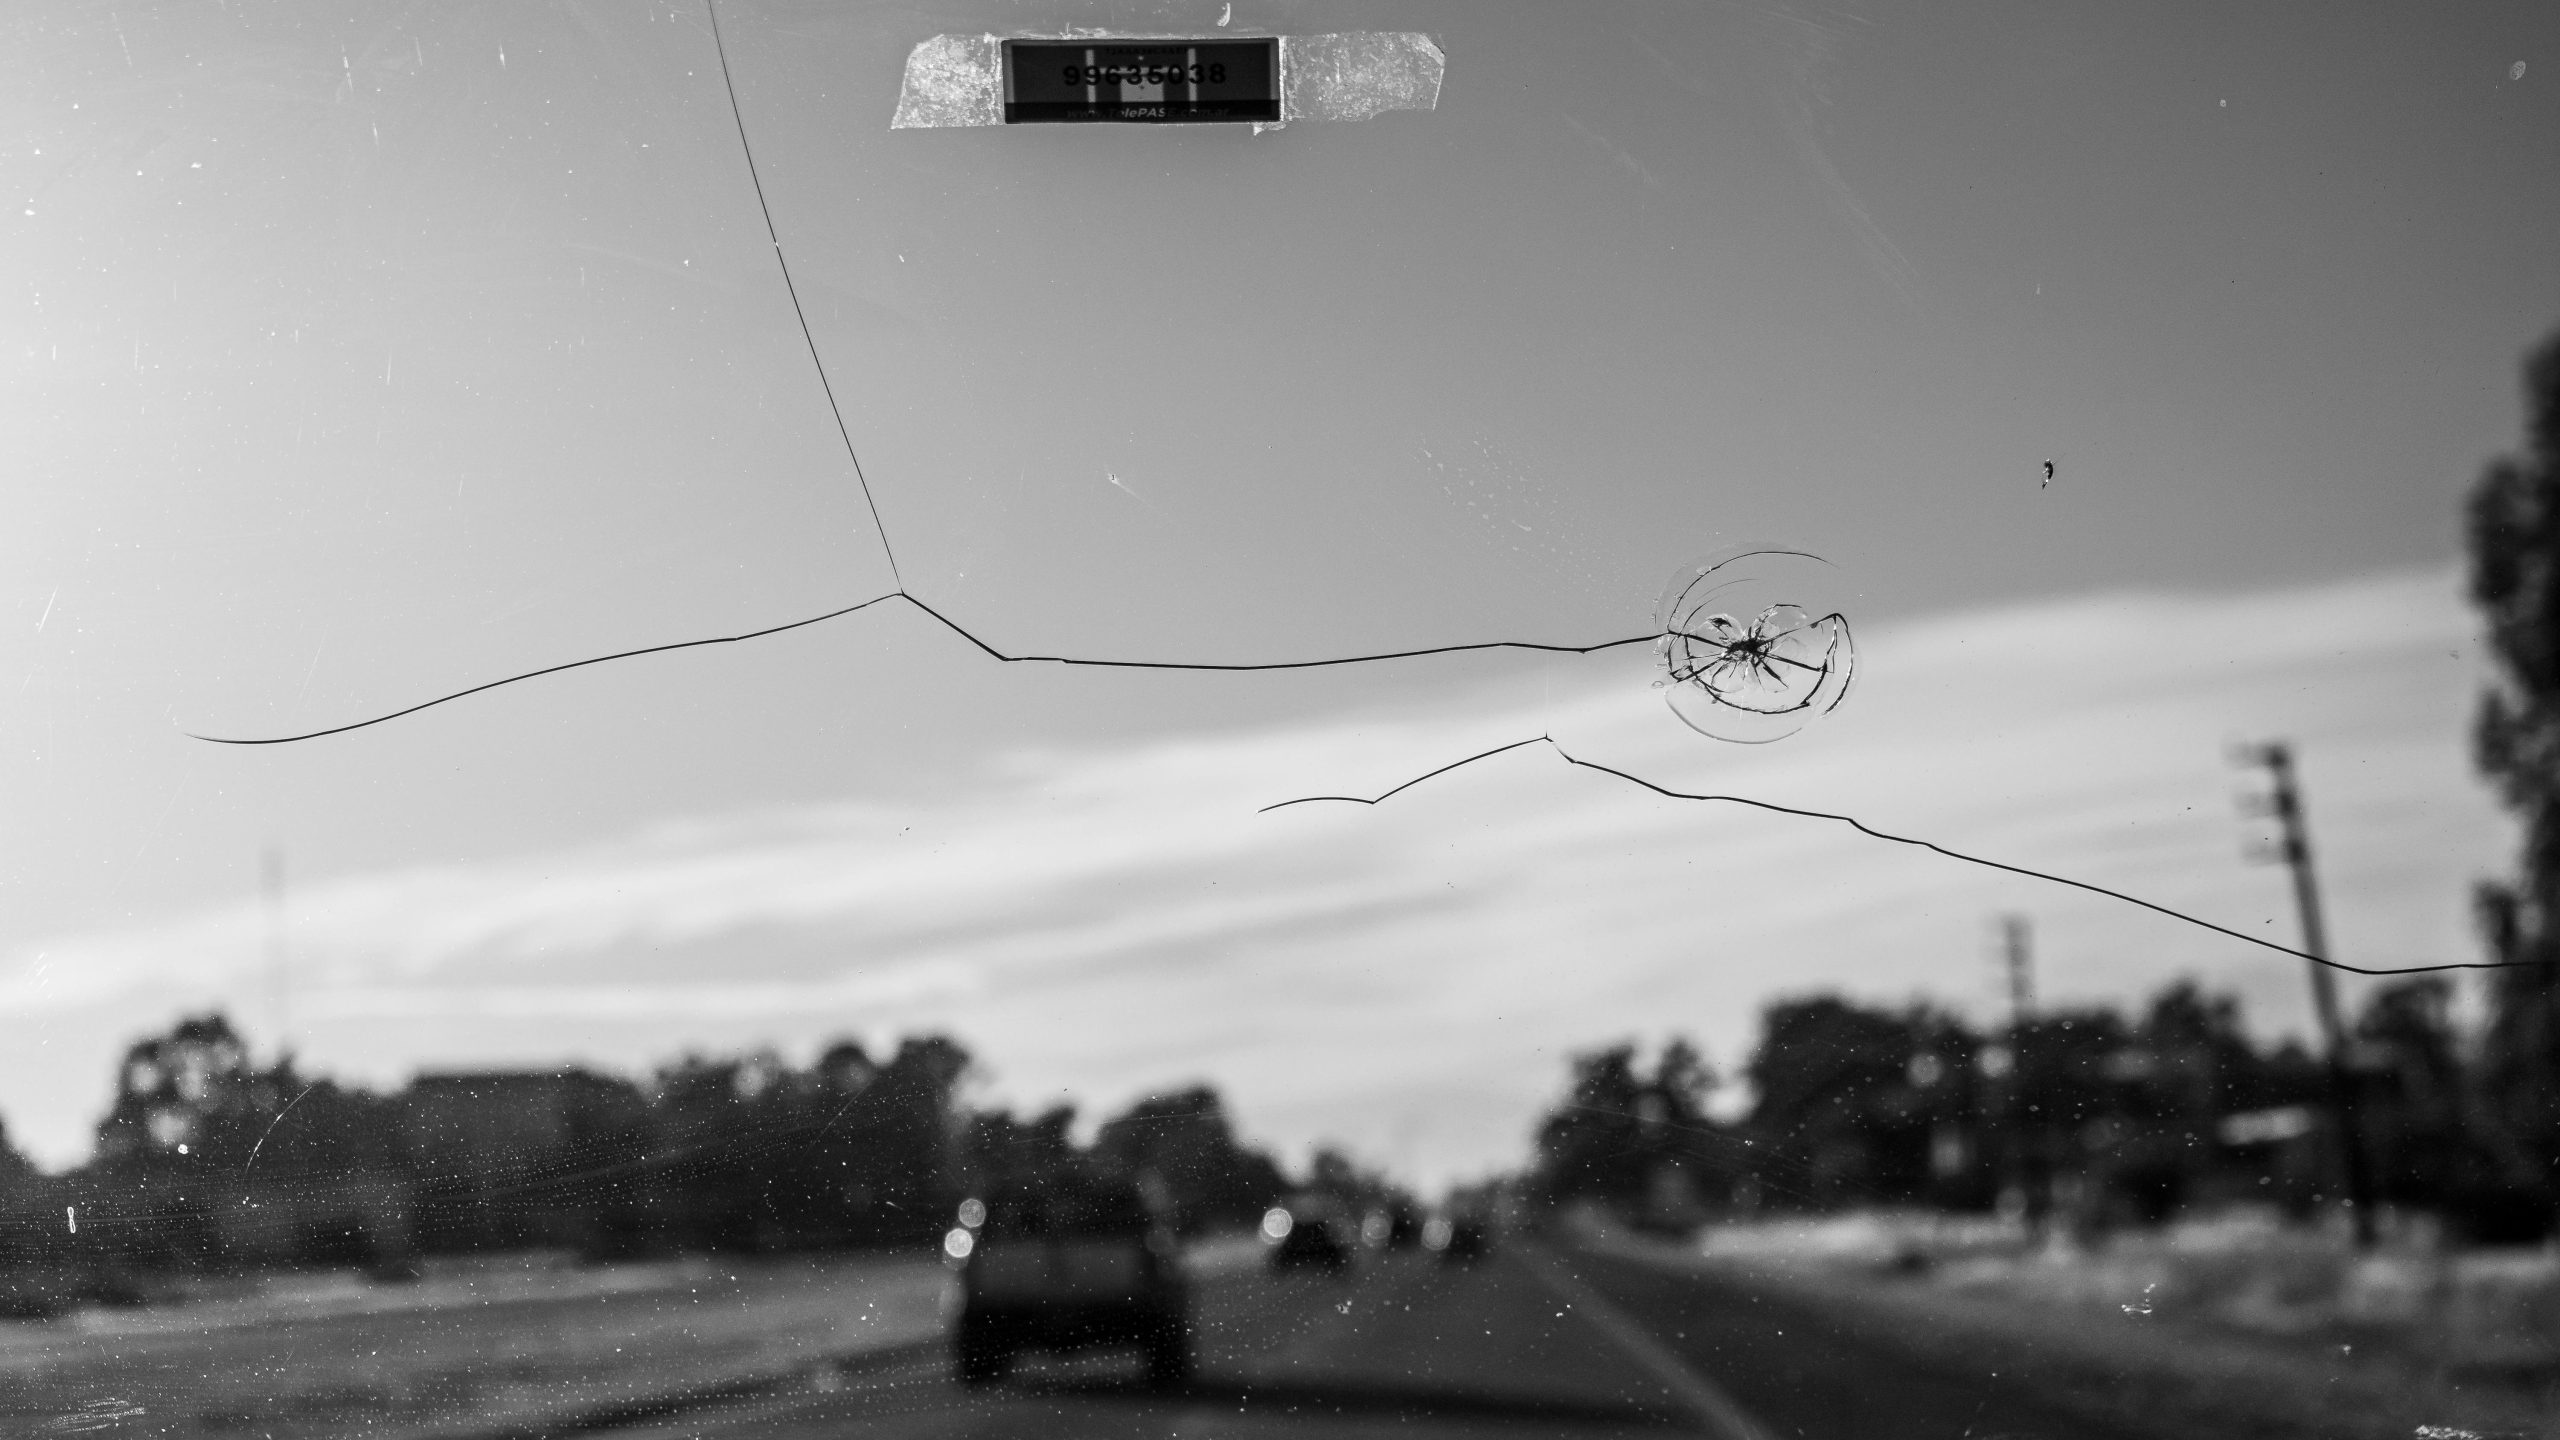
A cracked windshield is more than just an eyesore; it can compromise your safety and the structural integrity of your vehicle.
Whether it’s a small chip or a larger crack, addressing the issue promptly can save you time, money, and potential accidents.
While some cracks require professional intervention, there are steps you can take to manage minor damage yourself. Here are some professional tips to repair a cracked windshield effectively.
Understanding Windshield Cracks
Before diving into repairs, it’s important to understand the type of crack you’re dealing with. Windshield damage generally falls into two categories:
- Chips: These are small, circular breaks caused by debris like rocks. They’re usually repairable if caught early.
- Cracks: These can be long and straight or spread in a spiderweb pattern. The size and location of the crack will determine whether it can be repaired or requires a replacement.
Tip: If a crack exceeds 6 inches or reaches the edge of your windshield, it’s better to consult a professional as these are harder to repair and can worsen quickly.
Essential Tools and Materials
For minor repairs, you’ll need a few basic tools and materials:
- A windshield repair kit (available at auto supply stores)
- Clean microfiber cloths
- Razor blades
- Resin adhesive (included in most kits)
- UV light or direct sunlight for curing
Having the right tools will make the process easier and more effective.
Step-by-Step Guide for DIY Windshield Repair
1. Assess the Damage
Before starting any repair, closely inspect the crack or chip. Use a flashlight to check for additional fractures that might not be immediately visible. Measure the size of the damage to ensure it falls within the repairable range.
Pro Tip: If the crack obstructs your line of sight, avoid DIY repairs and seek professional help for a clearer and safer result.
2. Clean the Area
Dirt, dust, or moisture can interfere with the repair process. Use a microfiber cloth to gently clean the damaged area. Avoid applying water or glass cleaner as they can seep into the crack, making repairs less effective.
Tip: Ensure the windshield is completely dry before proceeding. Moisture trapped in cracks can prevent the resin from bonding properly.
3. Apply the Repair Kit
Follow these steps when using a repair kit:
- Position the adhesive patch or applicator over the crack, ensuring a tight seal.
- Inject the resin into the crack using the provided applicator.
- Allow the resin to seep into the damaged area. You may need to gently press on the applicator to help the resin spread.
Pro Tip: Work slowly and evenly to avoid air bubbles, which can weaken the repair.
4. Cure the Resin
Once the resin has been applied, it needs to cure. Most repair kits require UV light for this step. If you don’t have access to a UV light, placing your car in direct sunlight can also work.
Tip: Allow the resin to cure for at least 15-30 minutes, depending on the instructions in your kit. The curing time may vary based on the weather and resin quality.
5. Remove Excess Resin
After curing, there will likely be excess resin on the surface of the glass. Use a razor blade to gently scrape it off. Be careful not to scratch the windshield.
Pro Tip: Use a circular motion to achieve a smooth finish and ensure the repaired area is flush with the rest of the glass.
When to Call a Professional
Not all cracks can be repaired at home. Here are some situations where professional intervention is necessary:
- Cracks longer than 6 inches: Larger cracks are harder to stabilize and require advanced tools.
- Damage at the edges: Cracks near the edge of the windshield can weaken the entire glass structure.
- Multiple cracks: Repairing multiple cracks on your own can result in uneven or incomplete fixes.
- Visibility concerns: If the damage obstructs your view, let a professional handle the repair to avoid compromising safety.
Tips for Preventing Windshield Damage
Repairing a cracked windshield can be tedious, so it’s wise to take steps to prevent future damage:
- Maintain a safe distance: Avoid driving too close to large trucks or vehicles that may kick up debris.
- Avoid extreme temperature changes: Sudden changes, like pouring hot water on an icy windshield, can cause cracks.
- Park strategically: Avoid parking under trees or in areas with falling debris.
- Replace worn wiper blades: Old or damaged wiper blades can scratch your windshield, weakening it over time.
The Cost of Neglect
Ignoring a cracked windshield can lead to:
- Increased damage: Cracks can spread, especially in extreme weather or rough driving conditions.
- Legal issues: In some areas, driving with a damaged windshield can result in fines.
- Reduced safety: Your windshield contributes to the structural integrity of your vehicle, particularly in rollovers.
Addressing damage promptly is always the best course of action.
Final Thoughts
Repairing a cracked windshield doesn’t have to be overwhelming. With the right tools and a little patience, minor cracks and chips can be fixed at home. However, knowing when to call a professional is equally important.
By following these tips and practicing preventative measures, you can keep your windshield in top condition and enjoy safer, stress-free driving.
Stay proactive, drive safe, and remember—a clear windshield is key to a clear view!